

1
Create your account and subscribe
Go to app.rainfrog.ai/signup and create your account (email or Google). You can explore the studio with a free account, but generating images and video requires an active paid plan with credits. Open Manage Plan (or pricing after signup) and choose Hobby, Pro, or Ultra.
2
Create a new project
Open the Projects tab. Click New Project, give it a name, and create it. The canvas opens and auto-saves as you work.
3
Start from a template (optional)
In the studio, open the floating dock on the left and pick a template:
- Fashion Shooting — on-model shots with product and character
- Product Still Life — styled product placement in an environment
- UGC Content — creator-style social visuals
4
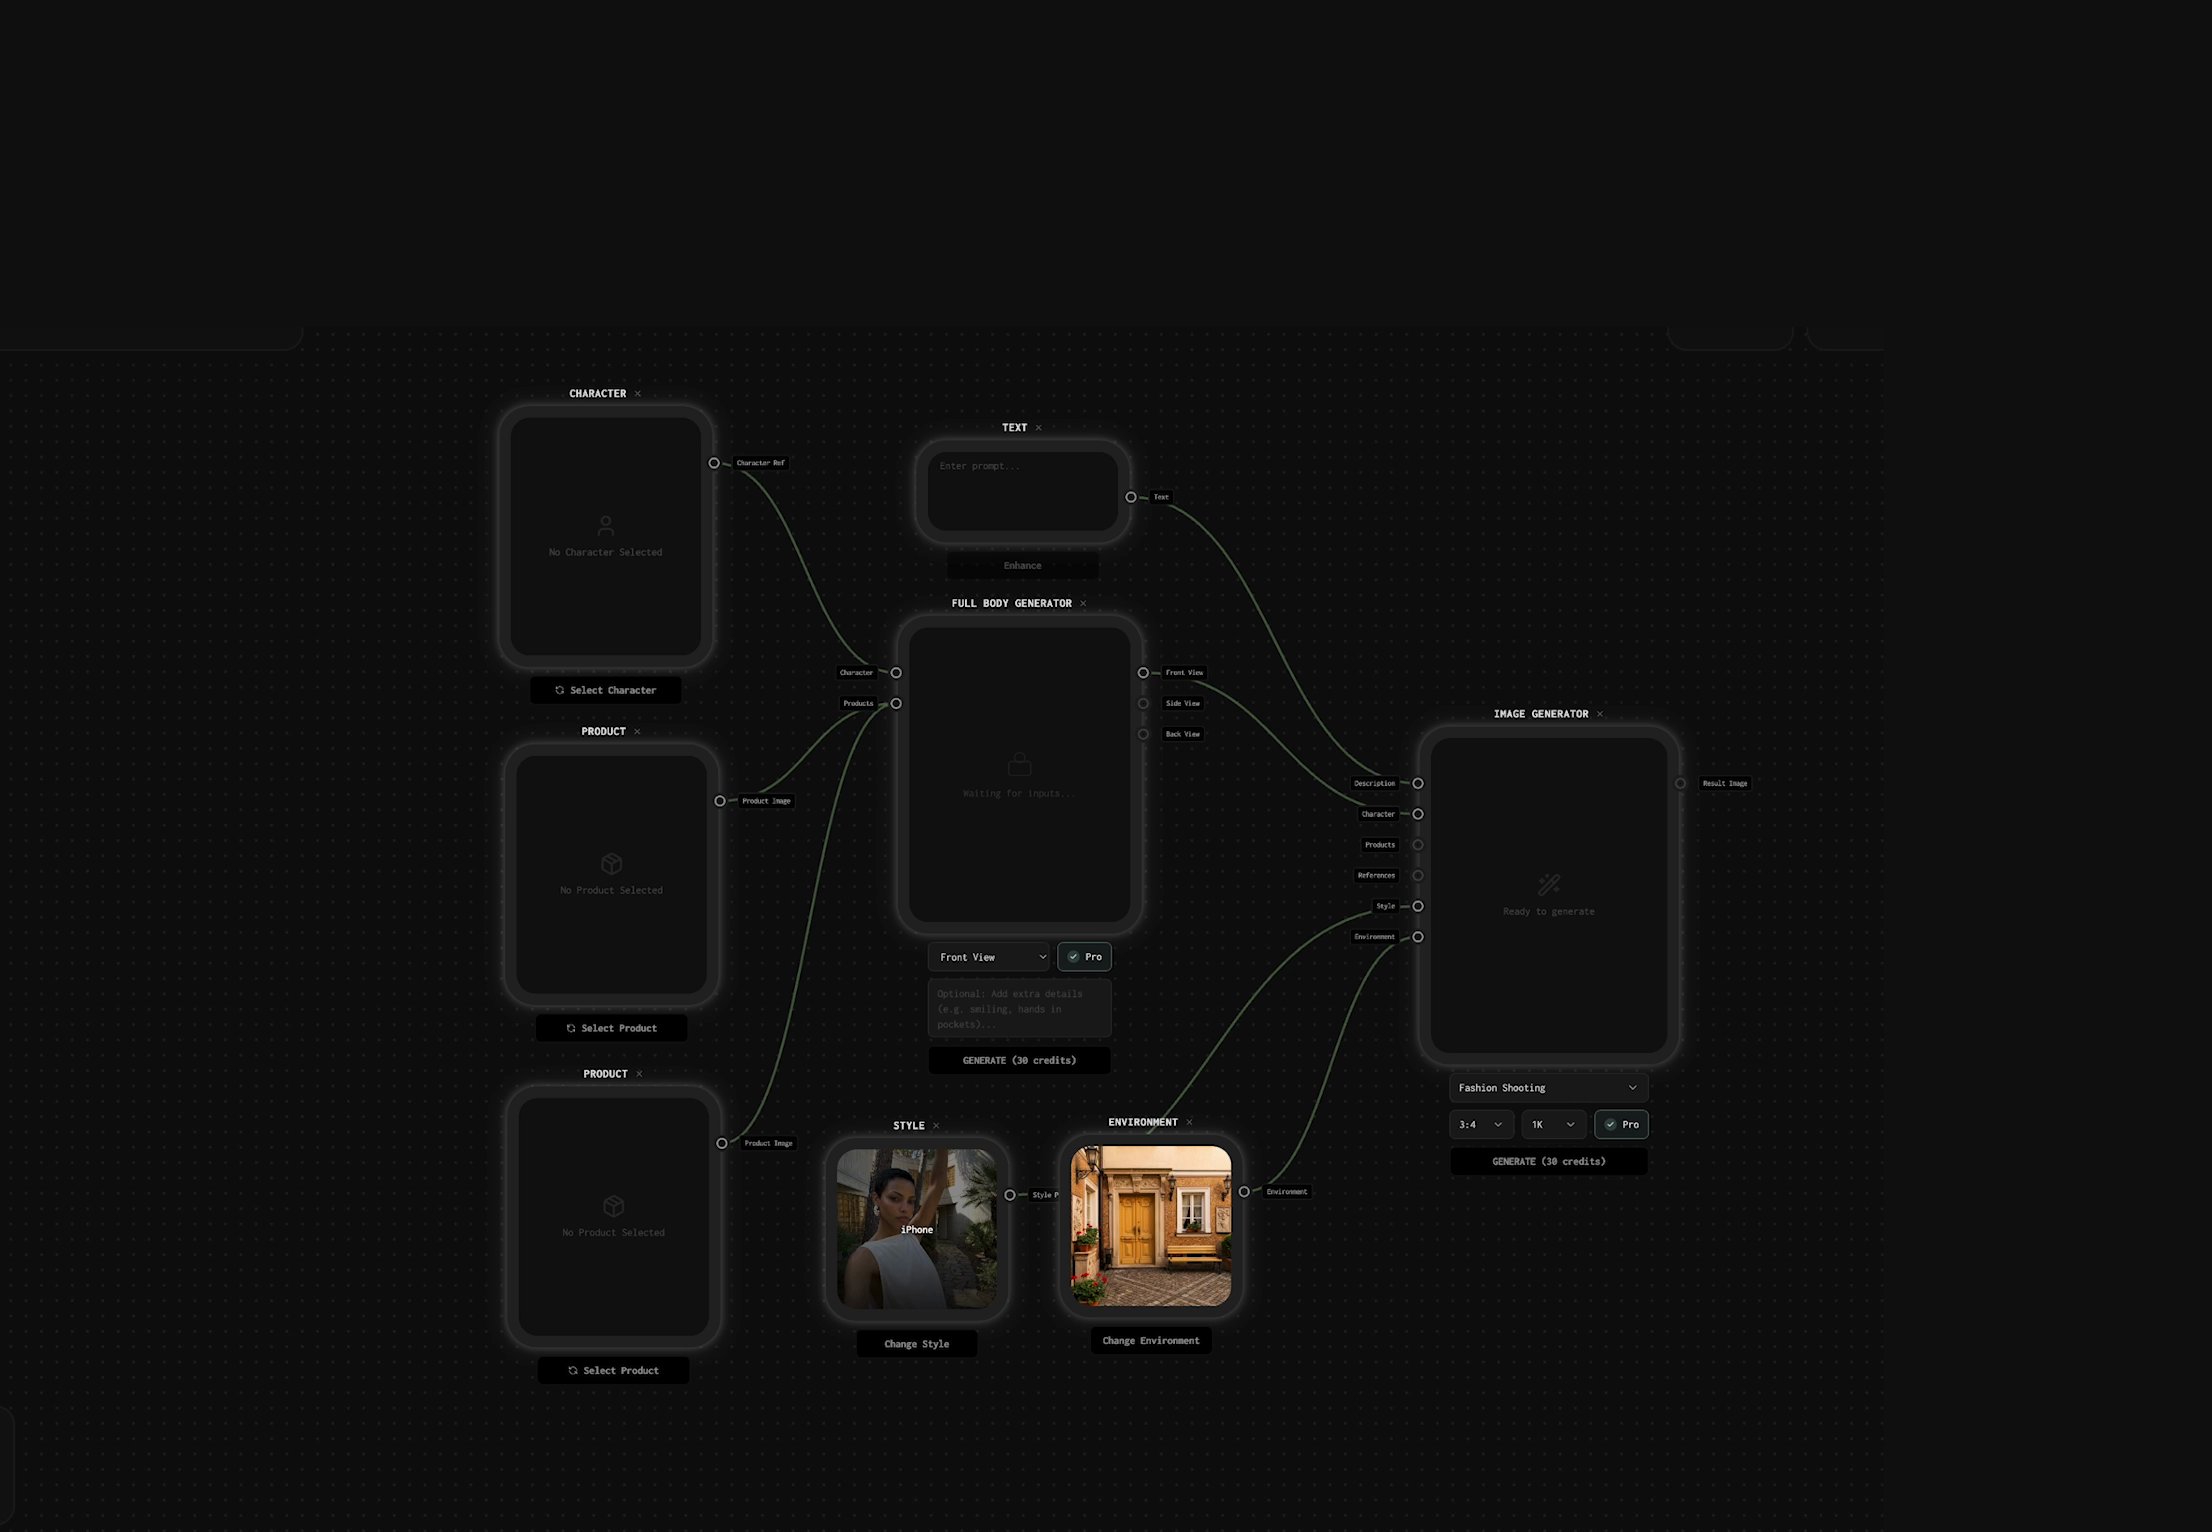
Connect your assets
Replace placeholders with your own assets — or keep built-in library assets for the first run:
- Product — select a product from your library or upload one under Assets → Products
- Character — choose a stock or custom character
- Style — pick a built-in or custom style on the Style node
- Environment — set the scene from the library or your customs
5
Generate
On the Image Generator, choose a model and settings, check the credit cost shown on the node, then click Generate. When the run finishes, the result appears on the node (with earlier runs kept in history).From here, you can:
- Swap a node — change an asset and generate again
- Add Full Body or Video — extend the same project with specialized generators
- Download — save outputs once your plan allows downloads
Find your way around
Keep exploring
Node Canvas
Deep-dive into how nodes, ports, and connections work on the Rainfrog canvas.
Your First Campaign
A step-by-step walkthrough of building a complete fashion campaign from scratch.